Recording Your Piano
To record your piano you will need a pair of microphones (to capture a stereo image), an audio interface plus DAW or an audio recorder, and a DAW to cut up your samples.
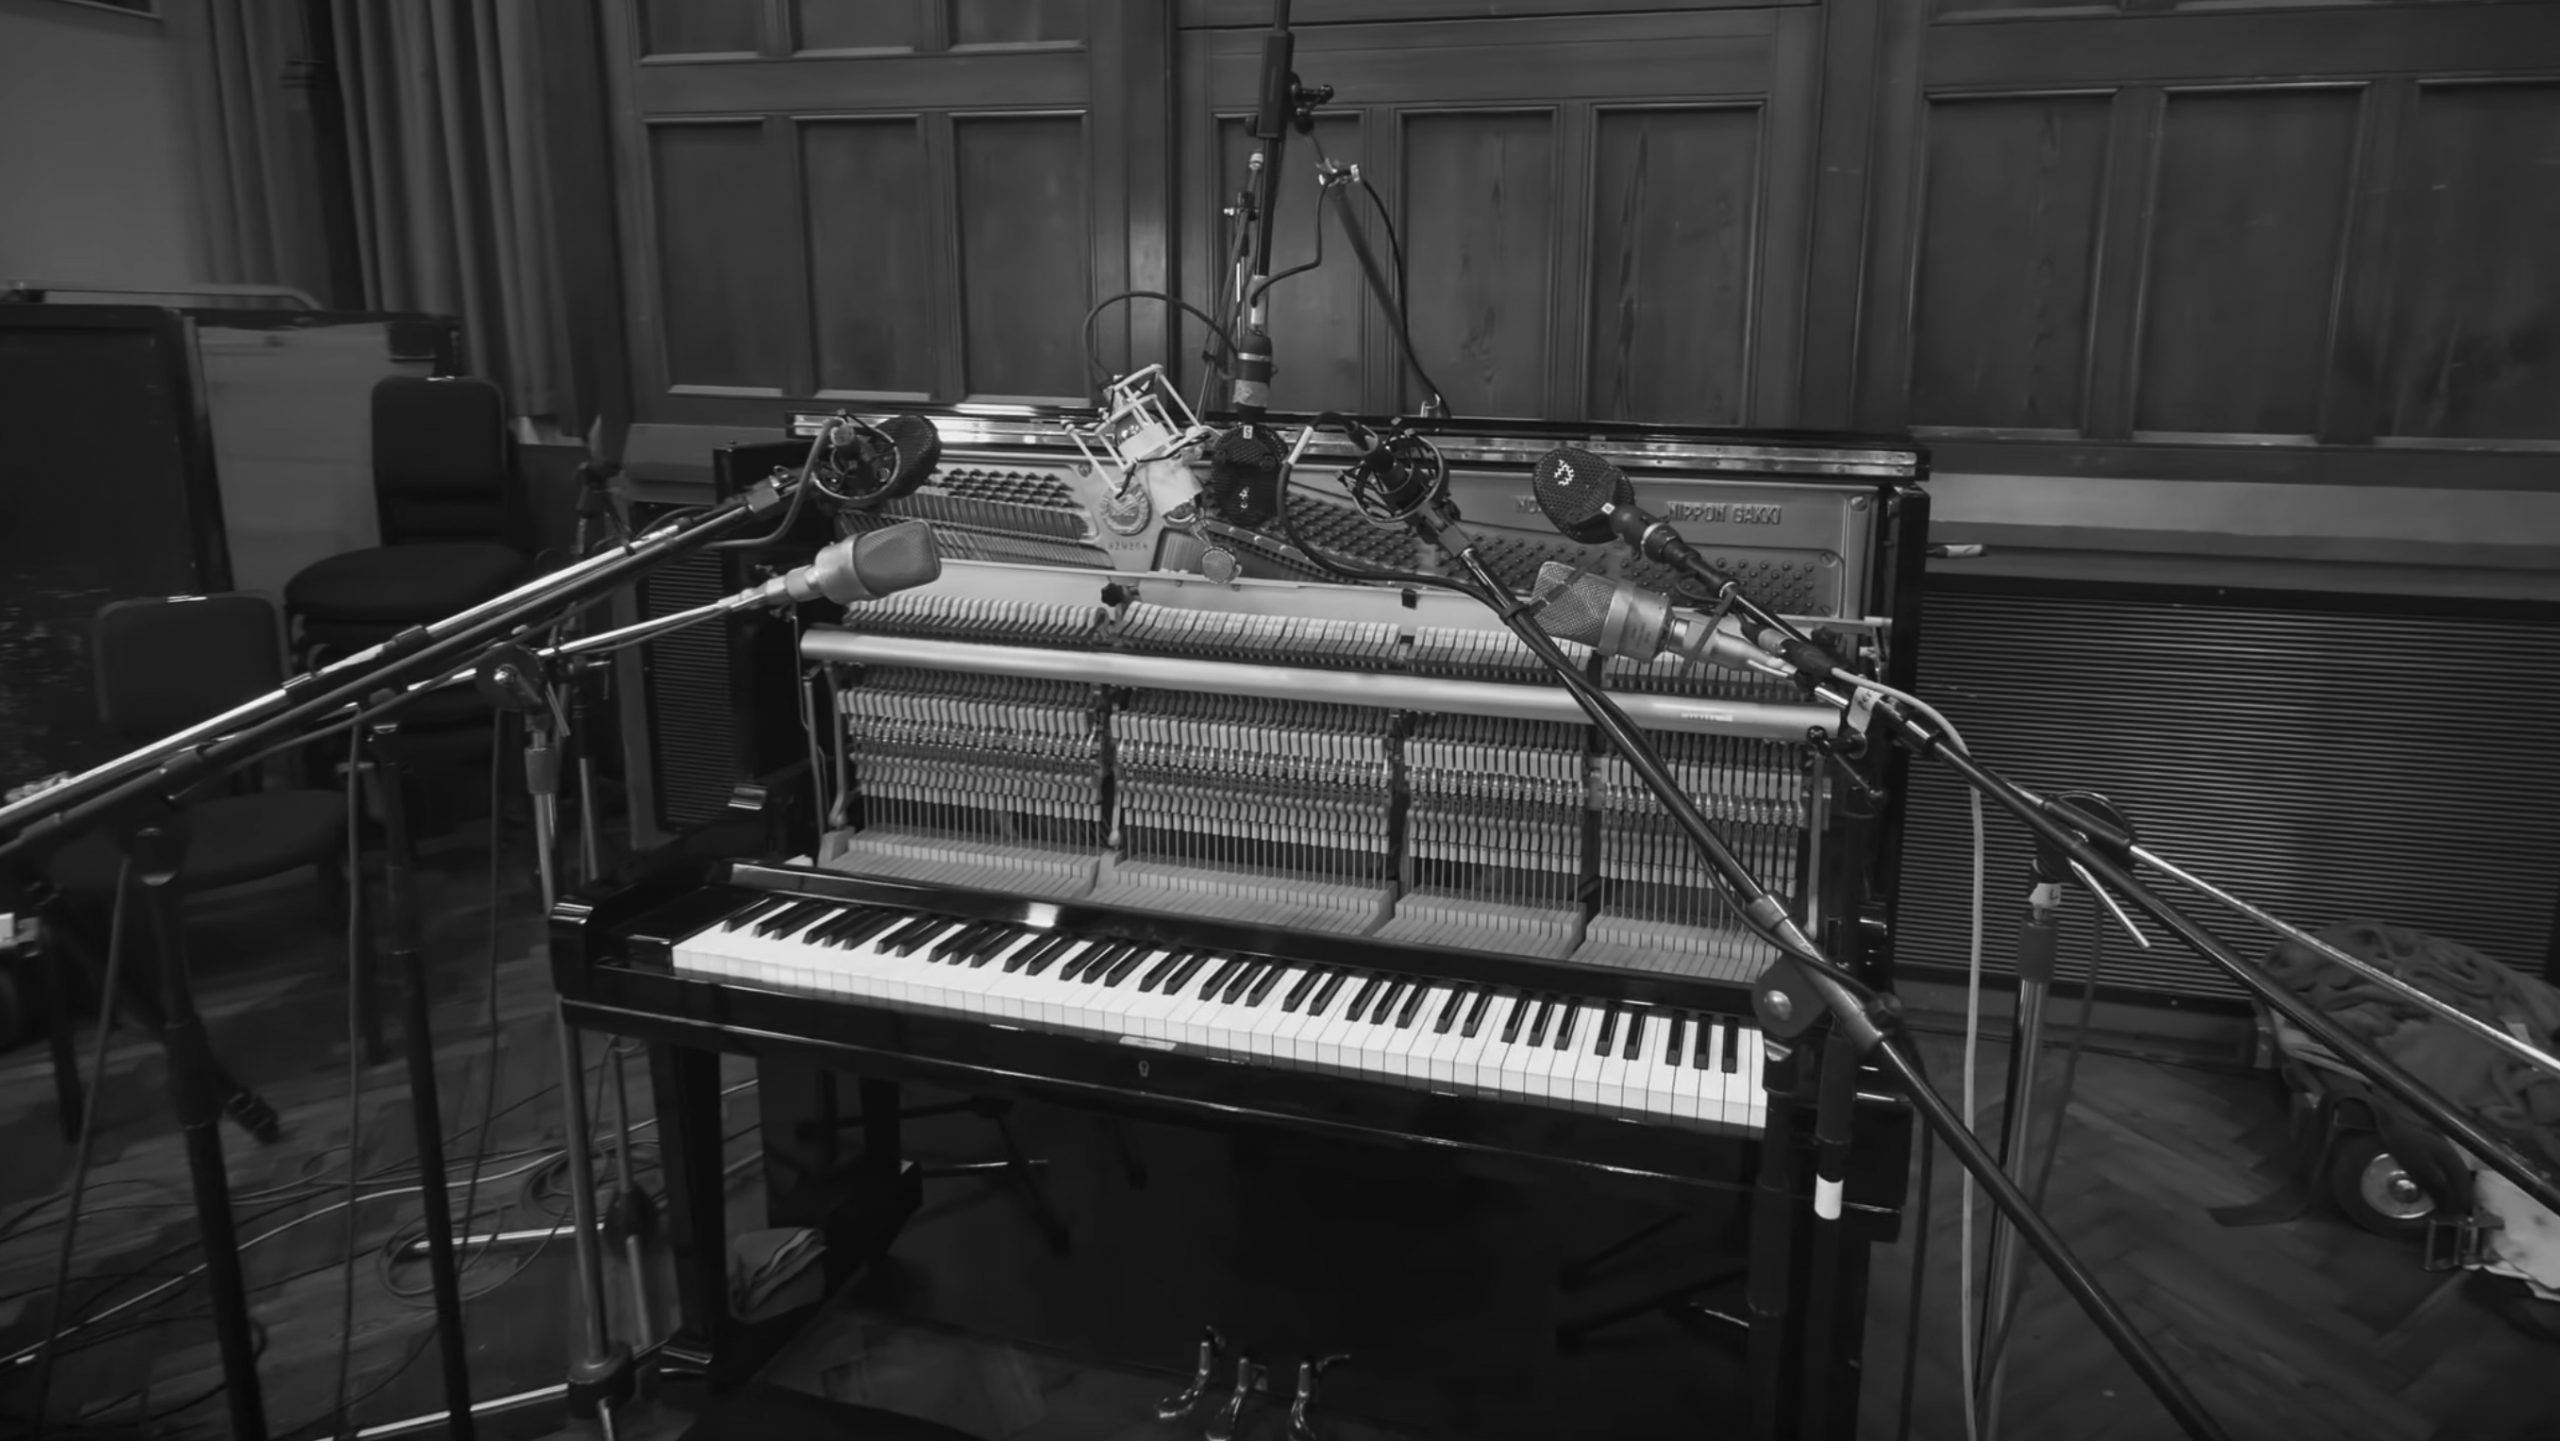
Most recordings of pianos make use of one or more stereo pairs of condenser microphones – anything from a pair of large diaphragm Neumanns, through to Aston Spirit microphones, to a simple pair of small diaphragm condensers. Whilst Condenser microphones are typically used, you could get great results from something like a Shure SM58. Microphone placement and polar pattern will depend on the particular piano, the room and whatever sounds best!
You will be recording the piano multiple times across a cycle of fifths, starting at the low C and ending at the top F. The complete cycle (C0, G0, D1, A1, E2, B2, F#3, C#4, G#4, D#5, A#5, F6) is shown below.

To capture the piano, start a recording (record at 48khz), capture each note for long enough to capture a good portion of its tail. The amount of time you will need to play each note will decrease as you move up the keyboard because the higher notes tail off quicker. In the template (see below) there is a tempo map that captures the first note (C0) for about 18 seconds whilst the last note (F6) for about 6 seconds. As we are capturing the piano with the sustain pedal down, ensure you engage the pedal before striking the note and then carefully lift the pedal after you have released the note.
When you have completed a first cycle of recordings, play the whole cycle of fifths again but at a louder velocity. You may need to experiment to find the optimal “quiet” and “loud” versions that capture the sound you like the best. Remember to try to keep the volume the same for all samples in a particular layer.
Following the recording of the “quiet” and “loud”, capture the release triggers of each note in the cycle of fifths, which can be used to add realism to the virtual version of your piano. To capture a release trigger, press down the key (without the sustain pedal) but don’t let the hammers strike the strings. Then simply release the key – slightly more exaggerated than you might normally (it’s easier to turn down the sample than turn it up).
Finally, capture some “wild track”, sitting in silence to capture the room noise, which will be helpful when processing through noise reduction later.
You may want to repeat the whole process multiple times so that you can pick your best take or even mix and match across takes if one note doesn’t quite work from one of your takes.
USING THE TEMPLATE
To help with the process, Christian has created a template, which you can download from: bit.ly/2BDgYxX. In this template you will find
- A Logic Pro X project template
- A midi file for a tempo map (to import into other DAW)
- A simple manual for editing samples
- Samples of “Kate” (voice assistant)
A virtual assistant “Kate” provides prompts through the recording to help you remember which notes to play and when to release the note. Christian walks through the template in the following video:
EDITING THE SAMPLES
Once you have completed your recording it’s time to slice up your samples so they can be loaded into a sampler. Most DAWs have a function to cut an audio file at transients and this is the easiest way to slice up your recording into the individual notes. The video above walks through this process and the template also provides a step-by-step guide for editing in Logic Pro X (which should be easy enough to adapt to other DAW).
When naming your samples, make sure you include the name of the note (using sharp ‘#’ signs rather than flat ‘b’ signs) to make it possible to auto-map your samples into a sampler. Also include the velocity layer in the name or “RT” for release tiggers. Files should be save at 48khz, 24bit, wav. A full recorded set of samples will look similar to the following:
- My Piano p C0.wav
- My Piano p G0.wav
- My Piano p D1.wav
- My Piano p A1.wav
- My Piano p E2.wav
- My Piano p B2.wav
- My Piano p F#3.wav
- My Piano p C#4.wav
- My Piano p G#4.wav
- My Piano p D#5.wav
- My Piano p A#5.wav
- My Piano p F6.wav
- My Piano f C0.wav
- My Piano f G0.wav
- My Piano f D1.wav
- My Piano f A1.wav
- My Piano f E2.wav
- My Piano f B2.wav
- My Piano f F#3.wav
- My Piano f C#4.wav
- My Piano f G#4.wav
- My Piano f D#5.wav
- My Piano f A#5.wav
- My Piano f F6.wav
- My Piano RT C0.wav
- My Piano RT G0.wav
- My Piano RT D1.wav
- My Piano RT A1.wav
- My Piano RT E2.wav
- My Piano RT B2.wav
- My Piano RT F#3.wav
- My Piano RT C#4.wav
- My Piano RT G#4.wav
- My Piano RT D#5.wav
- My Piano RT A#5.wav
- My Piano RT F6.wav
Also include a file that is your “wild track” of room noise, e.g “My Piano room.wav”.